
The questions Watkins tub owners keep asking about their pumps
If you own a Hot Spring, Caldera, Tiger River, Hotspot or Solana tub, you probably have a few questions about the pump. Why is it leaking? Why won't it turn? Which parts do I even order? Can I fix it myself?
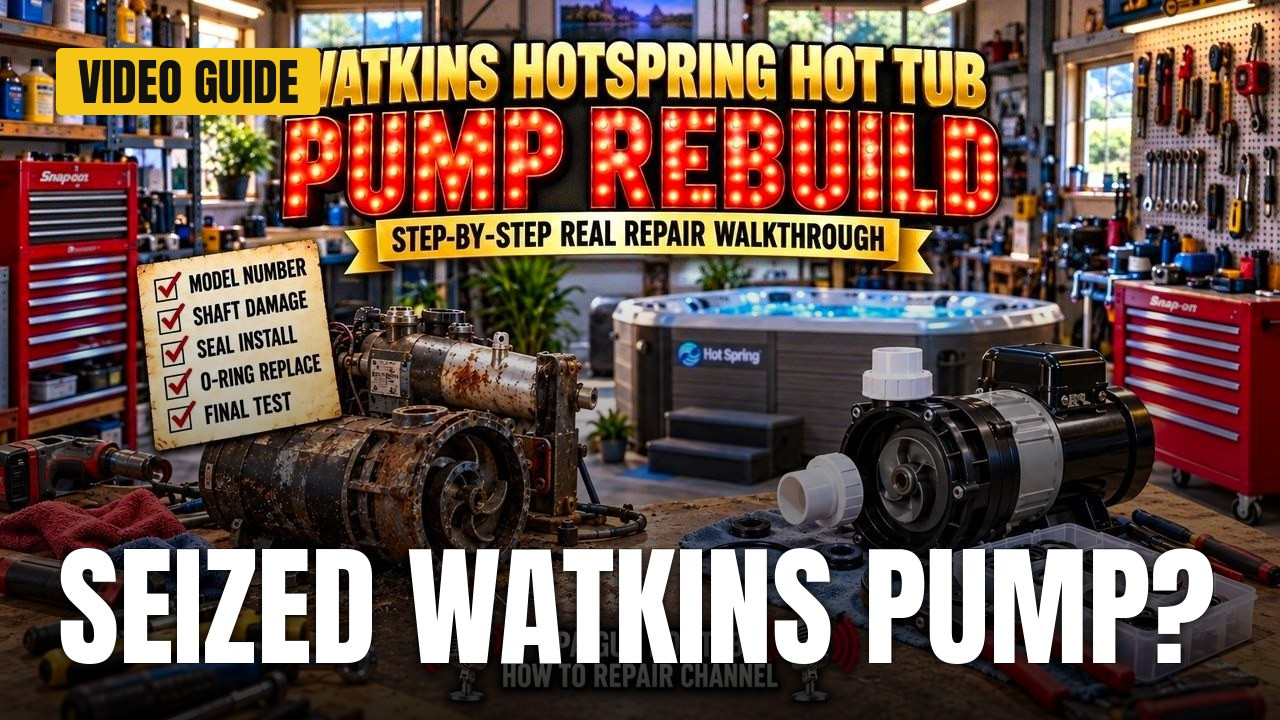
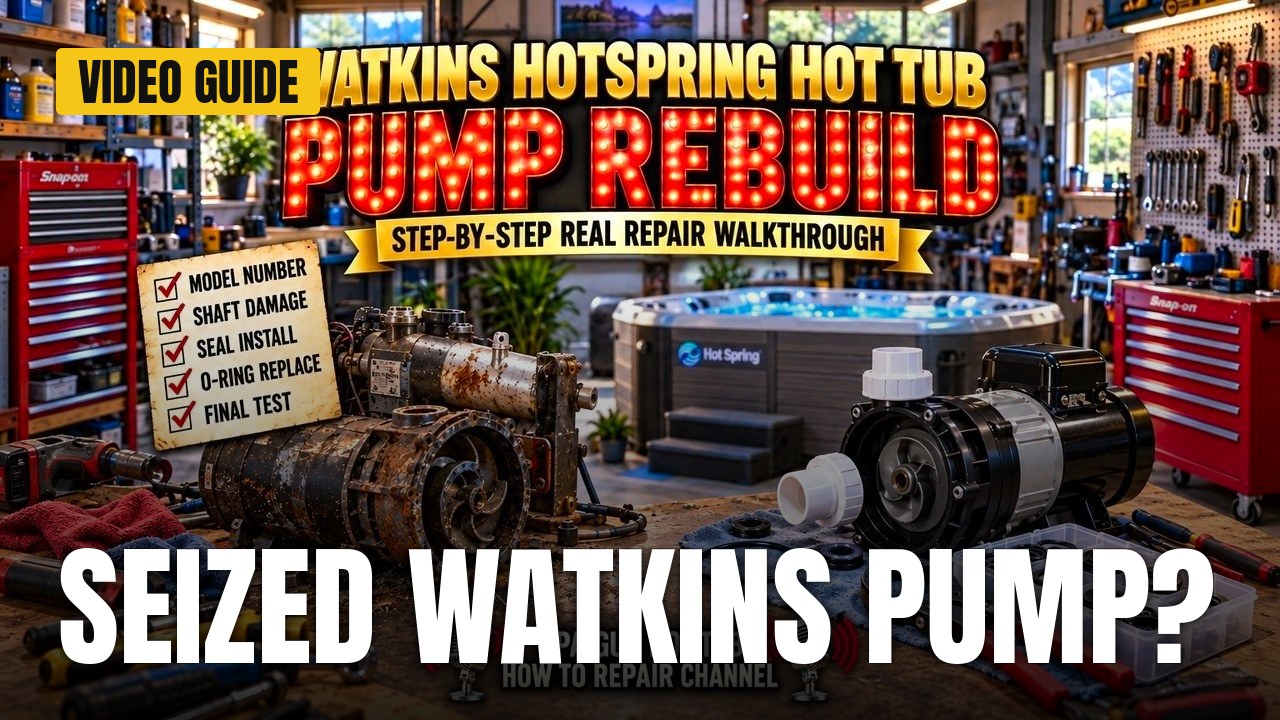
The Spa Guy covers all of these in one video, using a real Hot Spring Prodigy with a leaking, rusty, locked-up pump. He pulls it out and rebuilds it on camera. Here are the questions that video answers.
Your questions, answered one by one
How do I know which pump I have? Look at the label on the pump. Find the pump model number (on the tub in the video it is 36675) and the vendor code (4081). The vendor code tells you the brand of pump. Code 4081 means an Aquaflow pump. He stresses that you need the vendor code right, because it changes everything. Watkins does not make pumps. The tub brands buy them and put their own stickers on.
What does the model number tell me? On this pump, 36675 marks a dual voltage pump, and the label shows 115 and 230. He says that, unless there is something odd out there he doesn't know about, 115/230 means a one-speed pump. It also shows only one amperage for each voltage. He calls this unusual, since most single-pump tubs have at least a two-speed pump, but he says it is typical of the Watkins brand. He also says the 1.65 horsepower on the label is really a 1 and a half horse impeller, and he thinks Watkins did that to make it exclusive to them.
What can I buy once I have those two numbers? Enter the vendor code and the pump model number and you can pull up impeller kits with just a seal, impeller kits with bearings, complete wet ends, complete pumps and individual parts. For this repair he needed the impeller and seal kit. If you can't find what you need, he says to contact his team and they will try to figure it out.
Why was this pump stuck? The shaft had swollen so much that the sleeve on the back of the impeller swelled up and jammed inside the seal. The pump would not turn at all. He had to pull the rotor, clamp it in a vise with a rag to protect it, and turn the impeller off with oil filter pliers. He prefers them over channel locks, which are too bulky to fit in there. The seal was stuck too, so he broke the ceramic part out. He recommends safety glasses for that.
Can the motor be saved? He wasn't sure at first. He explains that when a motor locks up and just hums, it can destroy the windings, and then there is nothing you can do. He checked the front bearing, which turned freely, and the rear bearing, which felt good. The oil he found was most likely grease that ran out of the bearing. He then wired the motor to a plug to test it, and it sounded good. He cleaned the shaft with pliers and a wire brush until it was usable.
What tools help? A 7/16 socket on a flexible extension reaches the hex screws on the back of the motor foot. Oil filter pliers handle the big nuts on pumps and heaters. A vise, a punch and screwdriver for tapping the back cover off, and a big flat screwdriver to hold the back of the rotor are the rest of what you see him use.
What should I do before taking it apart? Take a picture of the wiring first. Mark the plates so they line up again on reassembly, and mark the direction of the wet end. On reassembly, the switch goes between the bearing and the plate, and the wave washer must be in place. It is made wavy on purpose, he says, so it is not broken. He also warns that the fan and the switch on the back of the rotor are fragile, and he says you cannot buy that fan.
How do I install the new seal and impeller? Before you start, the impeller should thread on and off by hand. If a ridge has built up, file it down so it can't split. Put a tiny bit of silicone on the shaft as a lubricant, then push the seal on. It also helps keep the seal from spinning once it dries. Do the same with a little silicone on the ceramic part, and tap it in straight. Snug the through bolts without going crazy tight, so you can still get it apart later. Then hold the back of the rotor with the flat screwdriver and thread the impeller in until it compresses the seal. Put a new face O-ring on, line it up with the bleeder on the bottom, and tighten all eight screws in a cross pattern.
What about putting it back in the tub? The heater has to come out to get this pump out, so it goes back in after the pump. He replaced the O-rings on both unions. He says the Watkins union O-rings are an unusual size, and the size he gives in the video changes as he talks, so check the size before you order. Hook up the plumbing first and let it settle before you screw the pump down, so nothing is in a bind. He also says that if it goes together real easy, there is usually something wrong, so a bit of resistance is a good sign. At the end, the pump ran correctly and the tub was heating.
Who is behind this advice
SpaPartsNet is owned and run by The Spa Guy team, the same people who make these videos. The person showing you the rebuild is the same person you would be getting help from.
What you get from fixing the pump this way
- You can find the right kit using the pump model number and vendor code on the label, rather than guessing.
- You can choose between an impeller and seal kit, an impeller and bearing kit, a complete wet end or a whole pump.
- You can find out whether the motor is worth saving by checking the bearings and testing it before you buy parts.
- Marking the parts and taking a wiring photo before you start makes it easier to put everything back correctly.
- New union O-rings and a carefully tightened pump help you avoid leaks when you put it back.
- You see the whole job, from disassembly to the final run test, before you decide to do it yourself.
Get the parts and watch the full rebuild
Start with the label on your pump. Write down the pump model number and the vendor code, then search SpaPartsNet for the impeller kit, seal kit, wet end or union O-rings that match.
Then watch the full video to see each step done in order. If you can't find what you need, contact the team and they will try to help you work it out.